Physicalization of AR/XR
- Organization
- Carnegie Mellon University
School of Design - Role
- Undergraduate thesis
Research, design, fabrication - Built with
- Unity · Cinema 4D
Arduino · ESP32 · Raspberry Pi
Laser cutting · 3D printing - Duration
- 2022
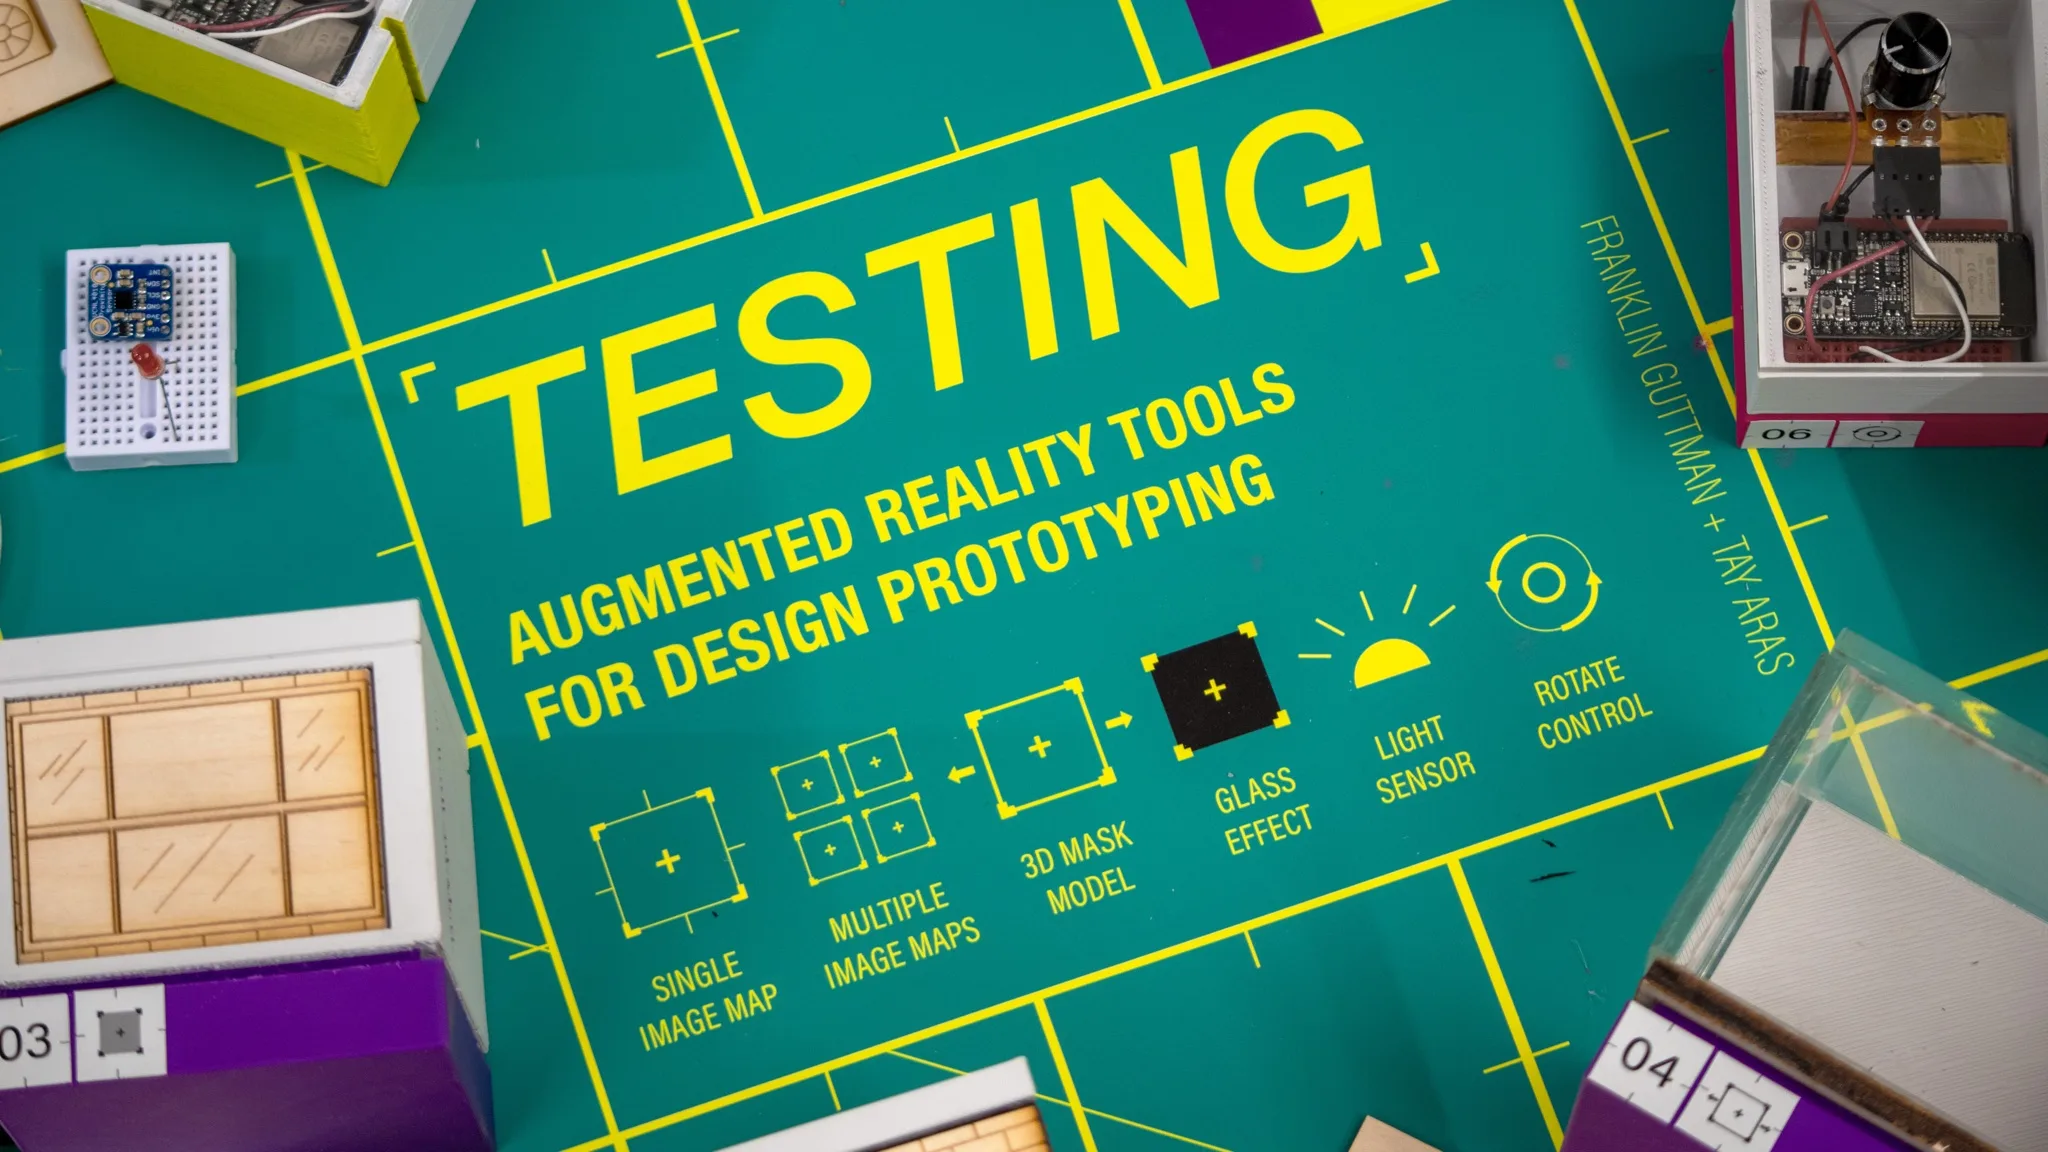
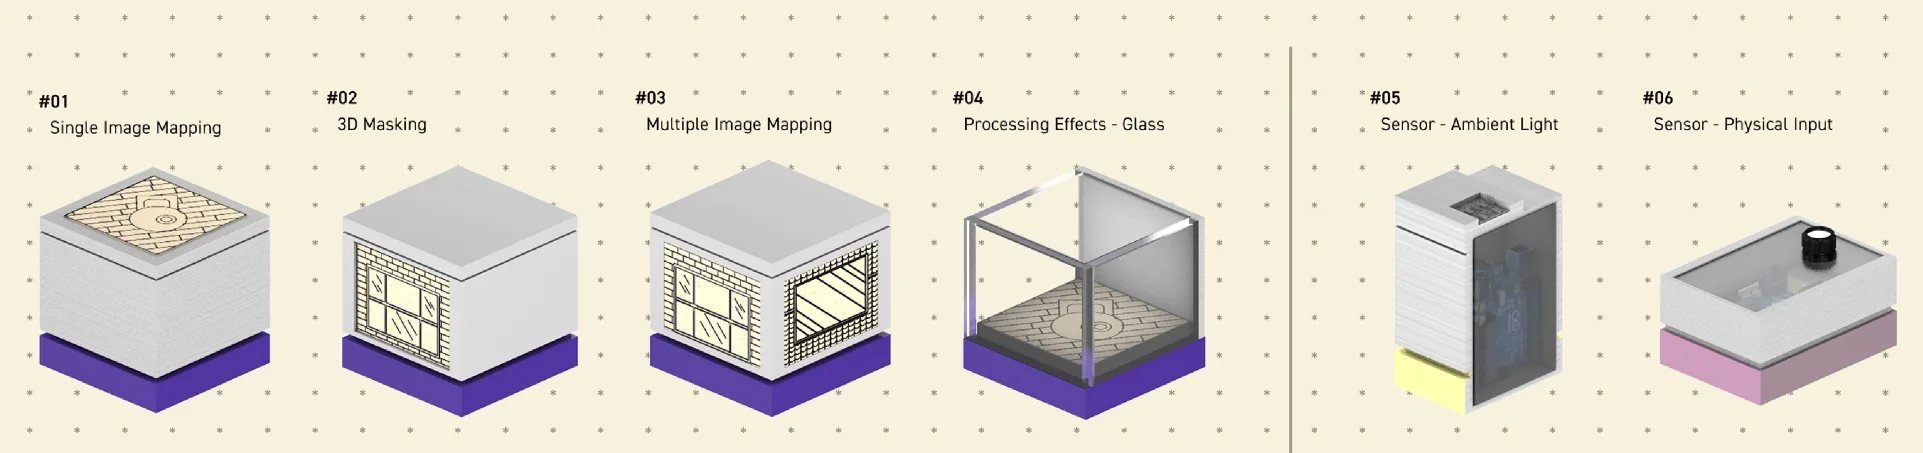
I designed and built six physical prototyping tools to investigate how materials, geometry, and sensor inputs shape augmented reality. For this undergraduate thesis, I led the research, fabricated the objects, and connected their digital models and electronics.
The project began as a complete AR experience, but early tests exposed tracking and alignment problems. I changed direction to study those mechanics individually, producing a toolkit for testing physical and digital behavior together.
Six tools
Design direction
From experience to toolkit
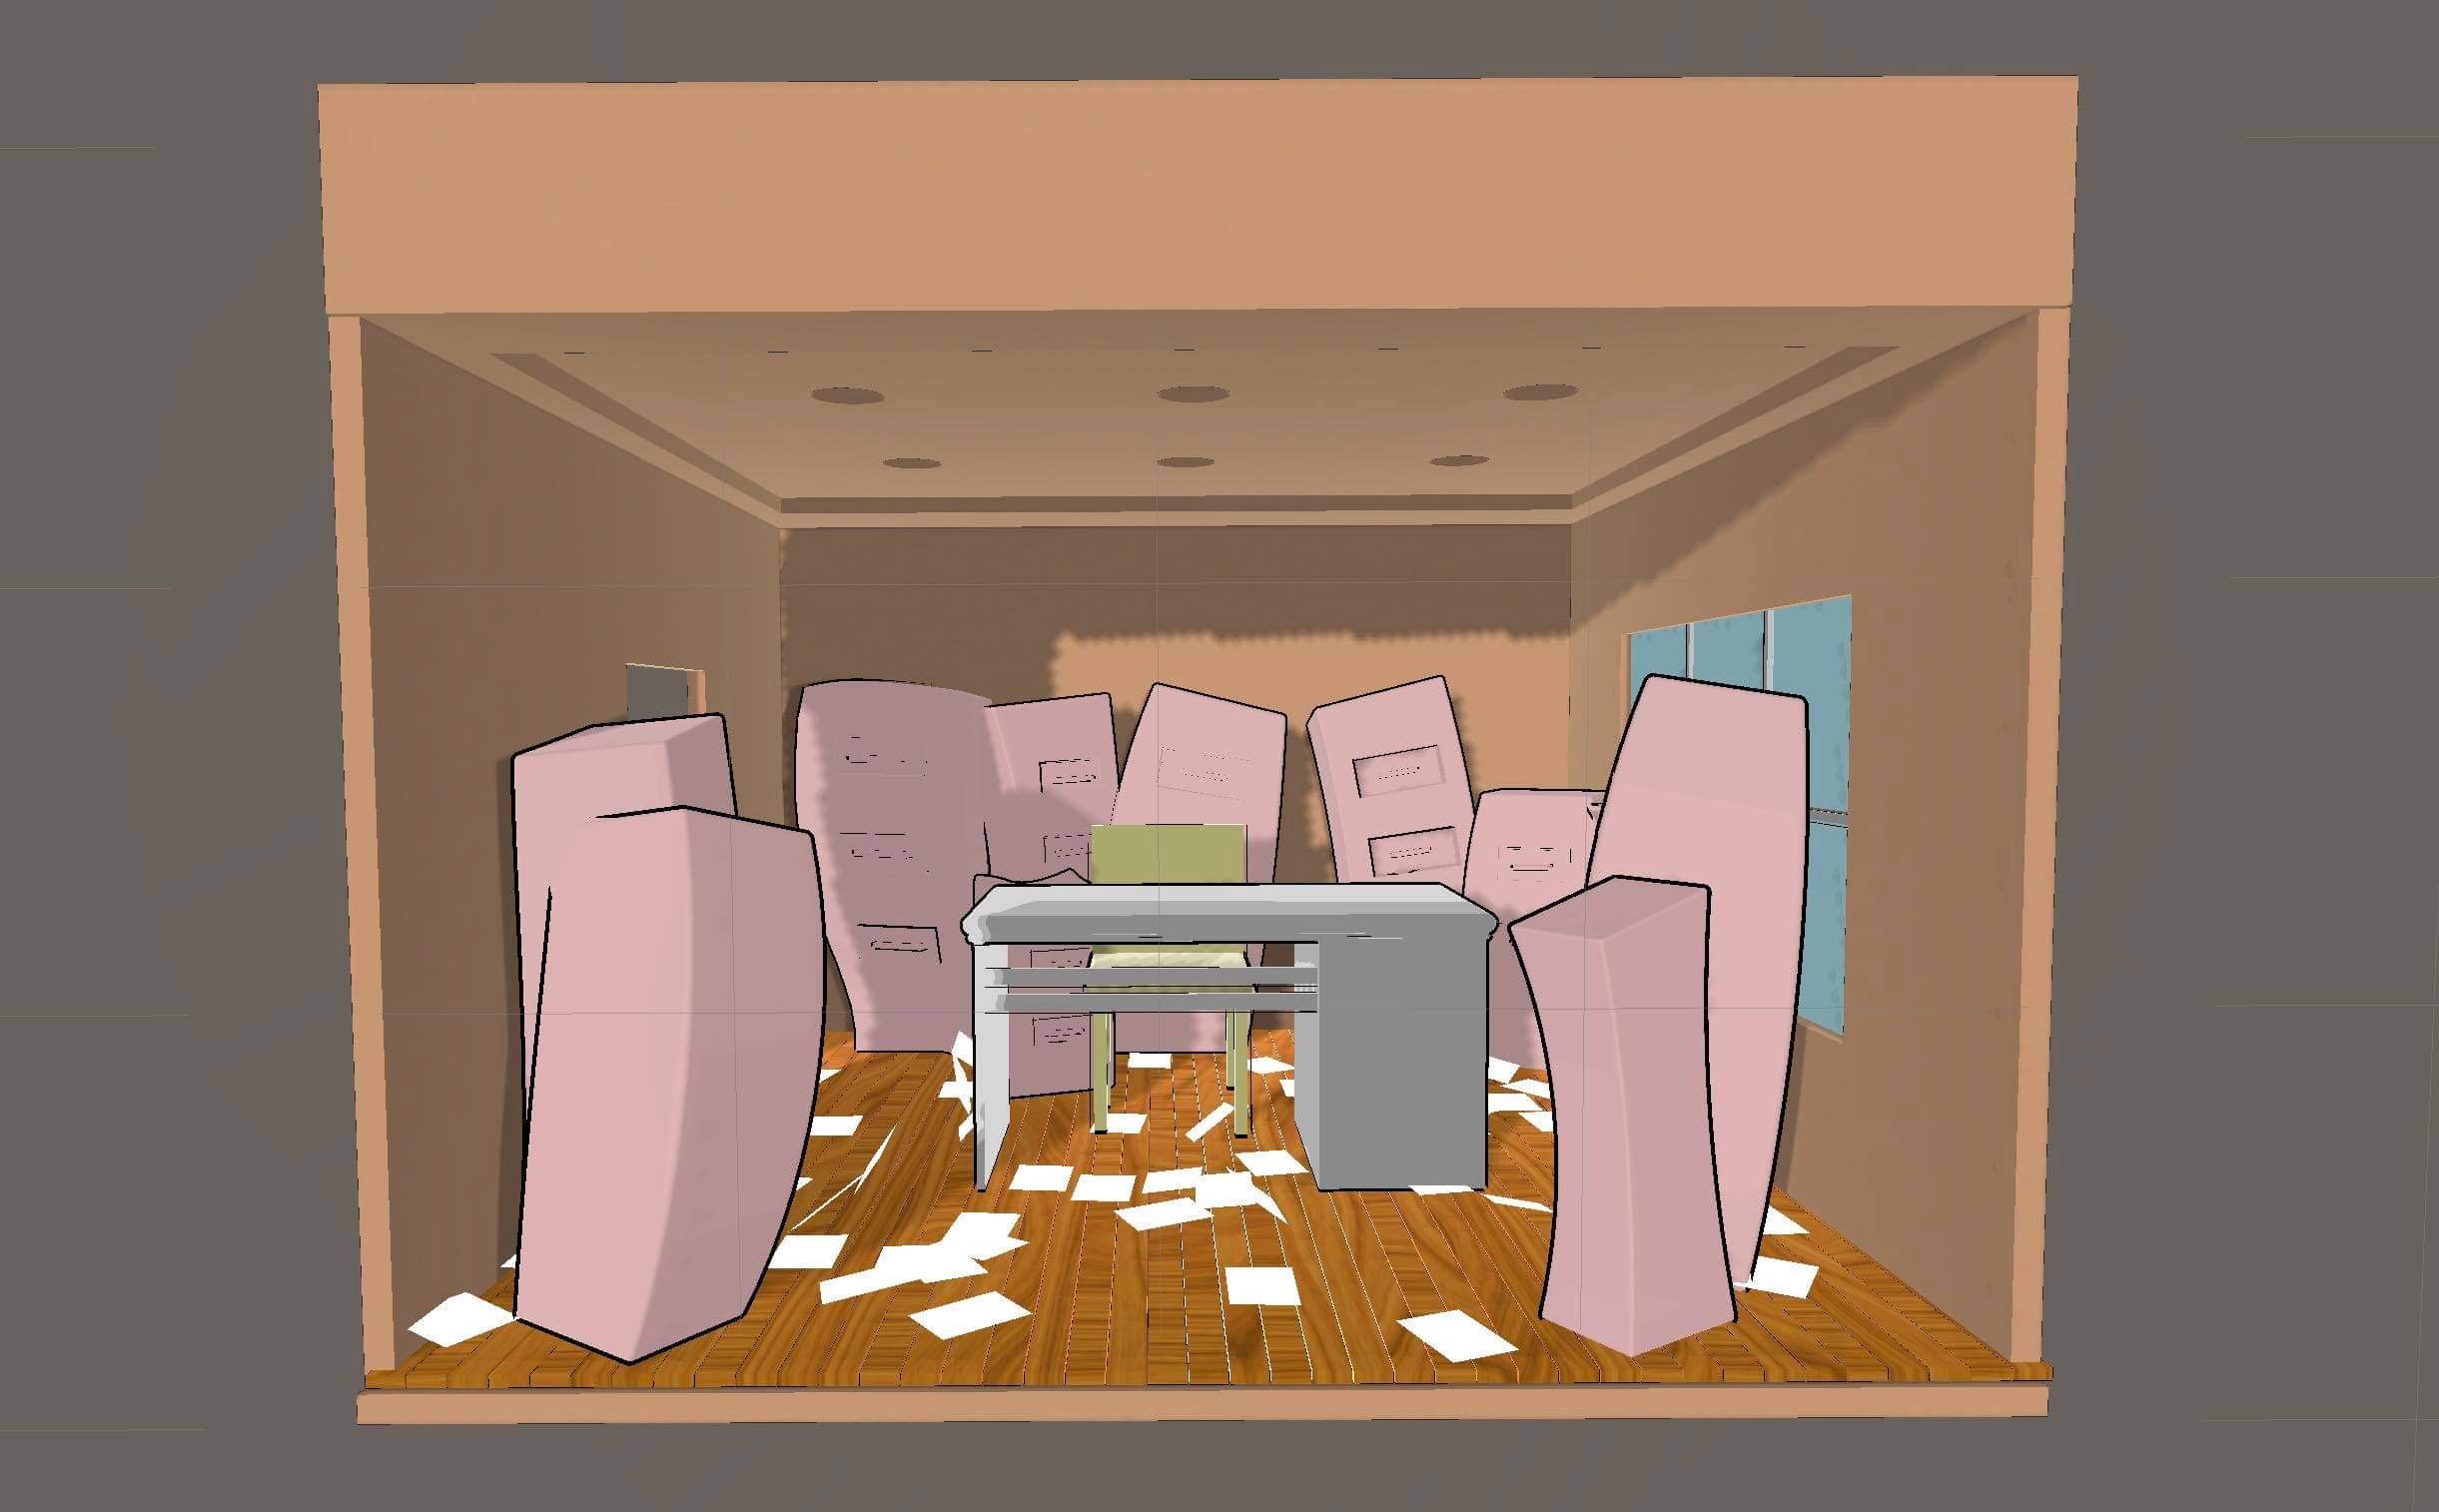
The initial concept was a narrative AR experience built around physical objects. Its first prototype exposed tracking and alignment problems that affected whether the experience could work at all.
I changed the project’s focus to the mechanics behind the experience. Separate tools let me examine materials, geometry, and physical inputs individually, then use those observations to inform later design work.
Static designs could not show whether an image target would remain trackable or whether a virtual interior would align with its physical shell. The toolkit made those questions available to investigate through a camera.
What I did
My contribution
- Research direction
- Reframed the thesis around testing individual AR mechanics and compared behavior across materials, forms, and lighting conditions.
- Interaction design
- Designed the relationship between physical objects, sensor inputs, and the virtual content they controlled.
- Fabrication
- Modeled and made the forms, image targets, and housings using laser cutting and 3D printing.
- Integration
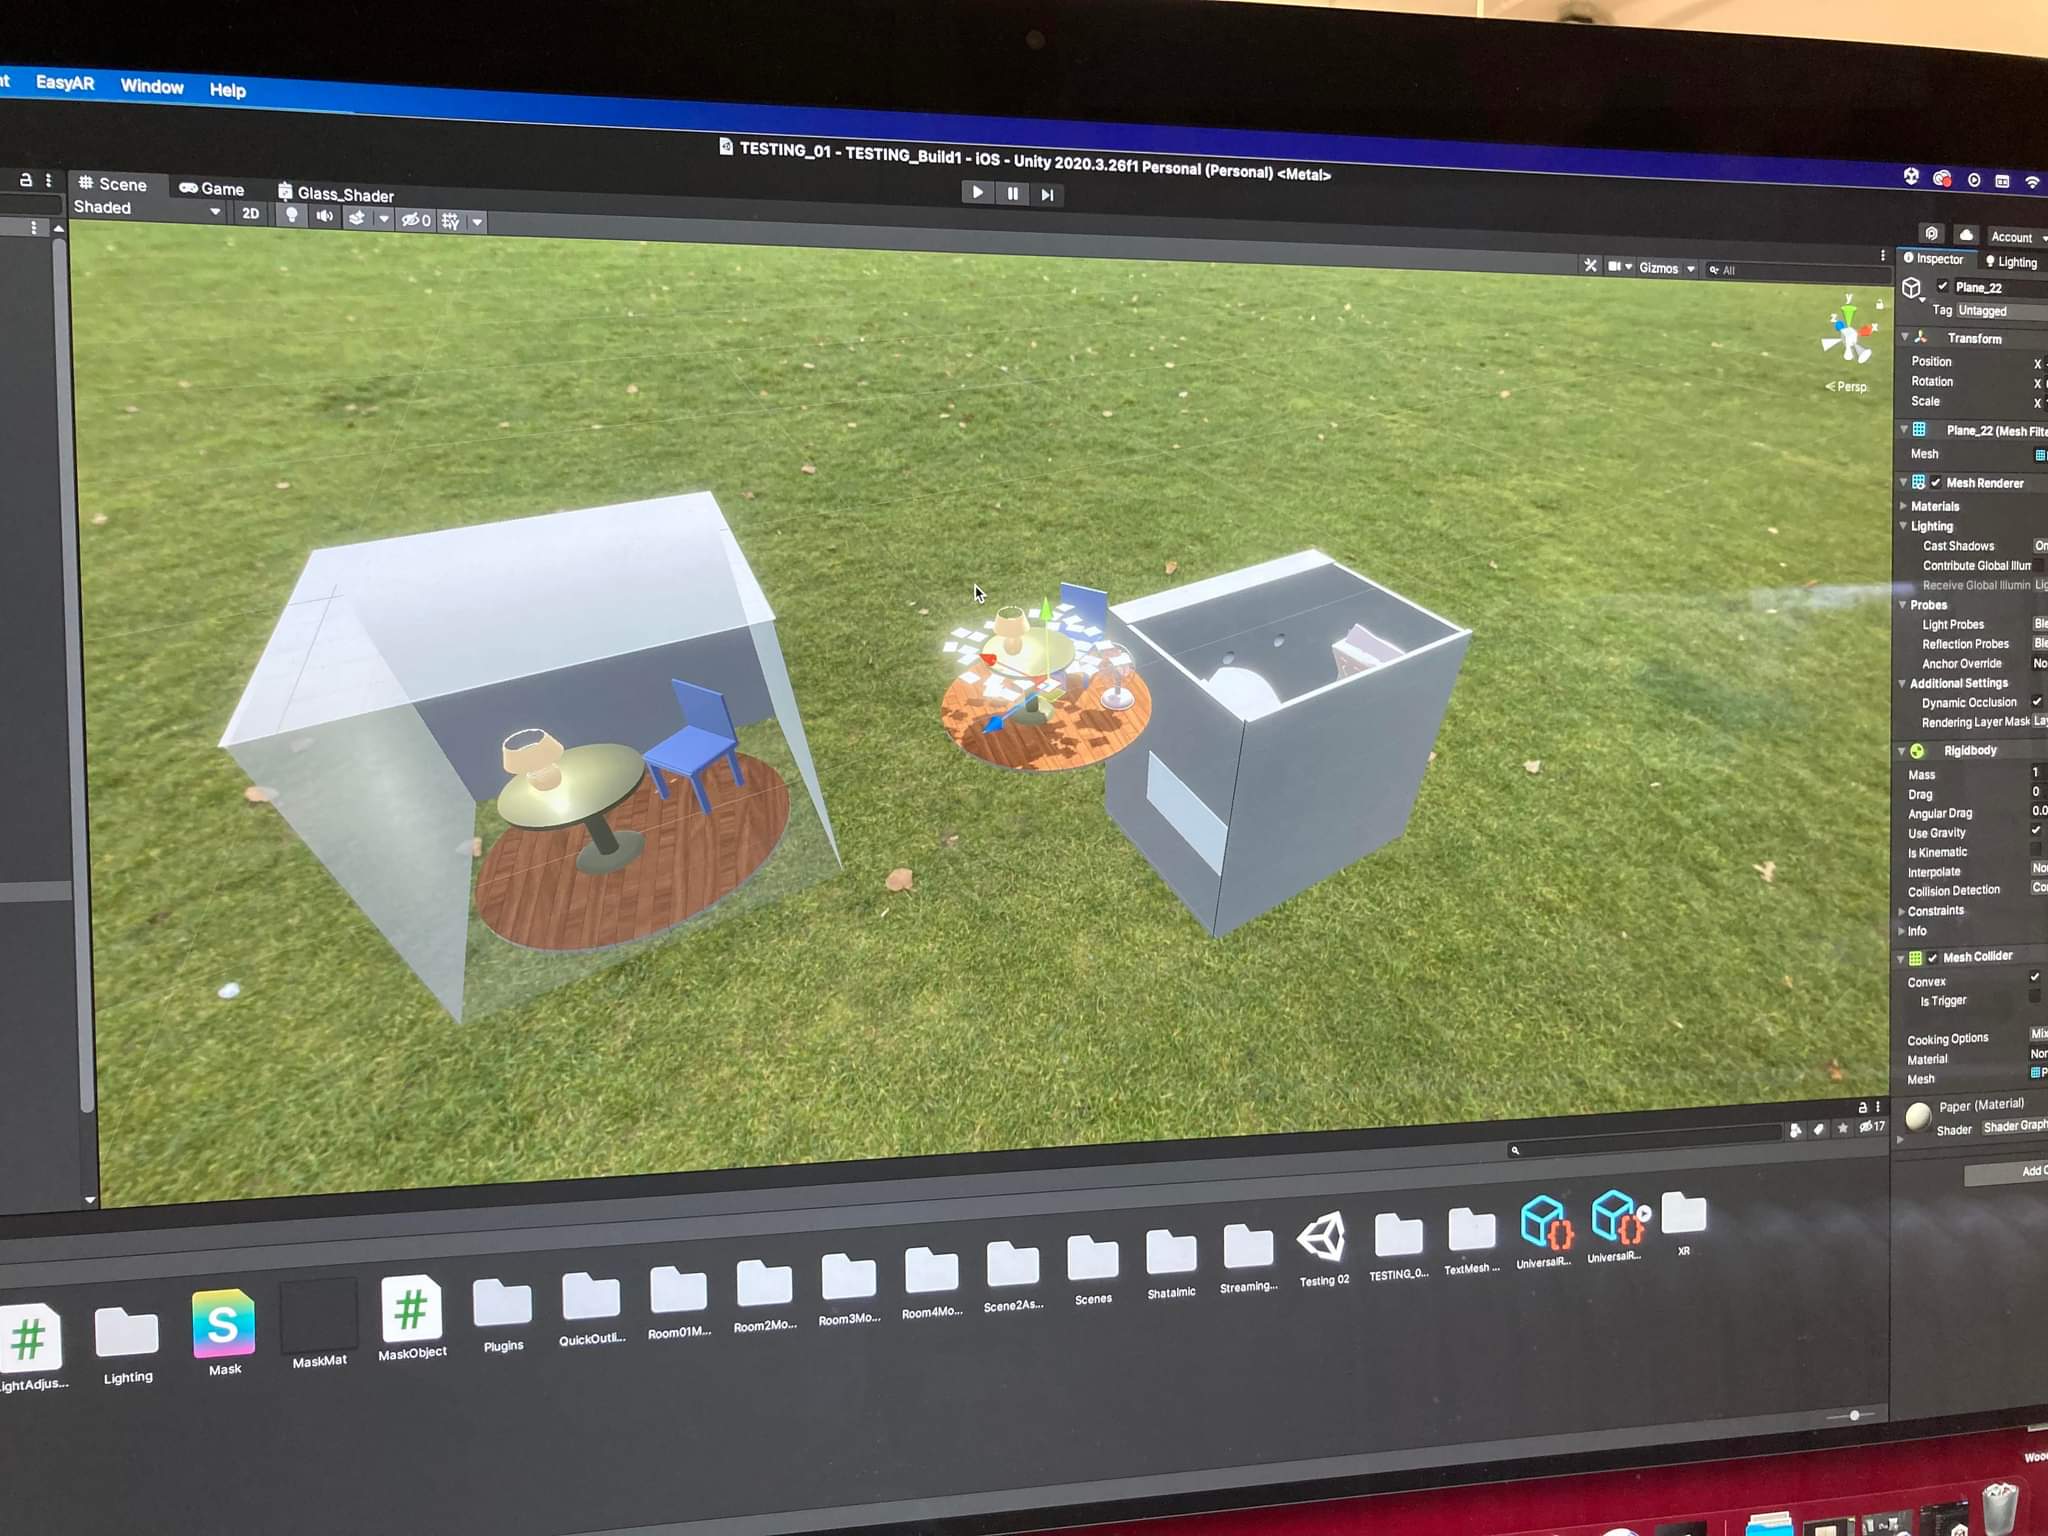
- Connected Unity and Cinema 4D models with the fabricated objects and Arduino, ESP32, and Raspberry Pi hardware.
Prototyping
Material testing
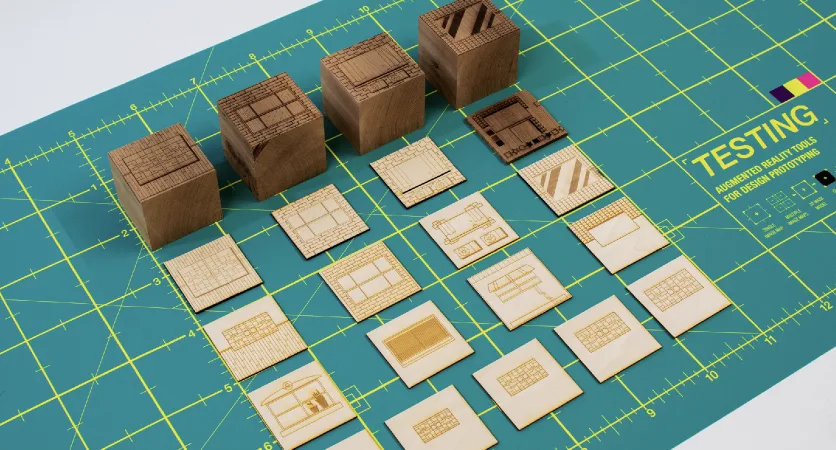
I laser-etched the same pattern into wood, paper, and card stock to compare tracking across materials. I adjusted surface treatments and marker density when targets lost tracking or depended too heavily on a precise setup. Matte surfaces tracked more consistently than glossy or low-contrast surfaces in these tests.
The design implication was that surface finish belonged in the interaction specification. A visually suitable material could still make the experience unreliable if the camera could not track it consistently.
Form and alignment
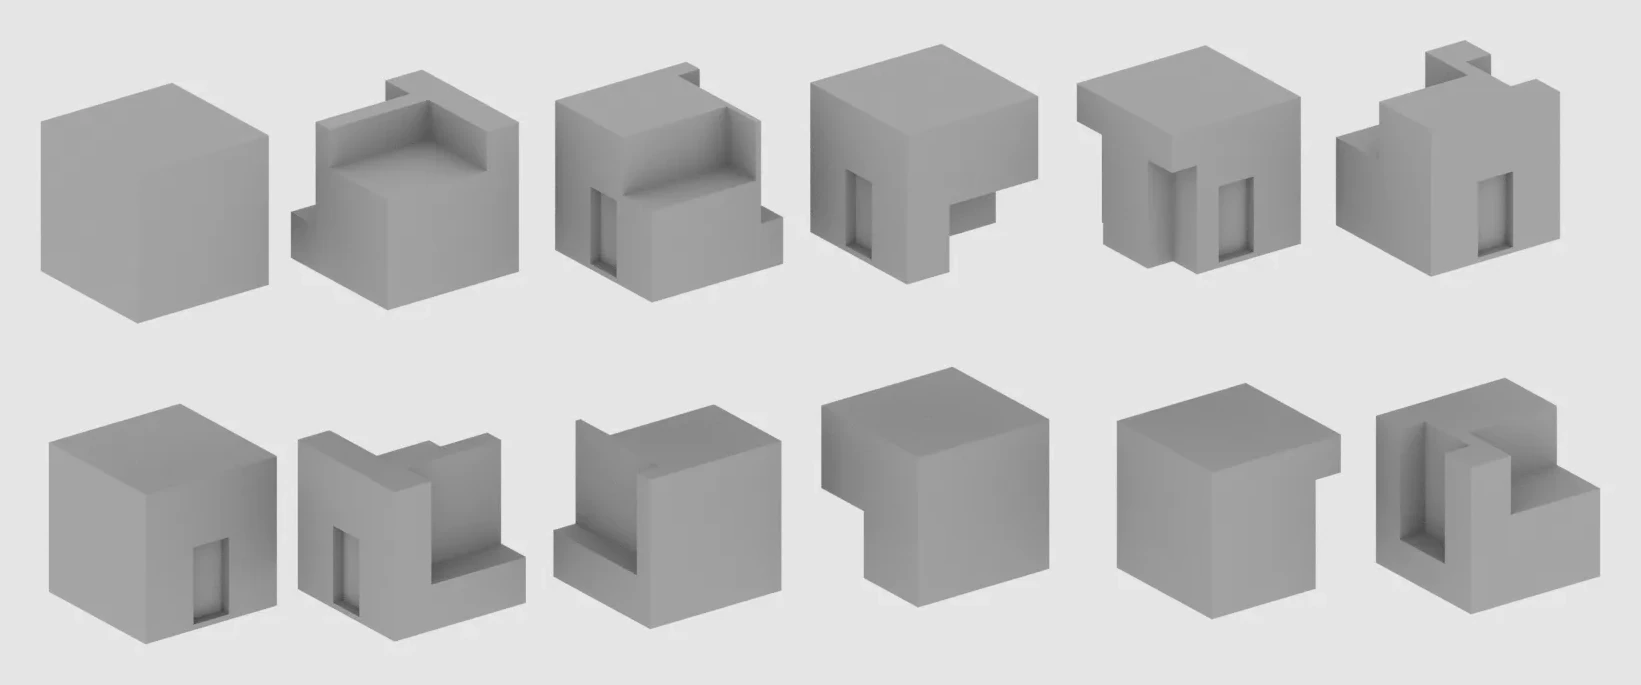
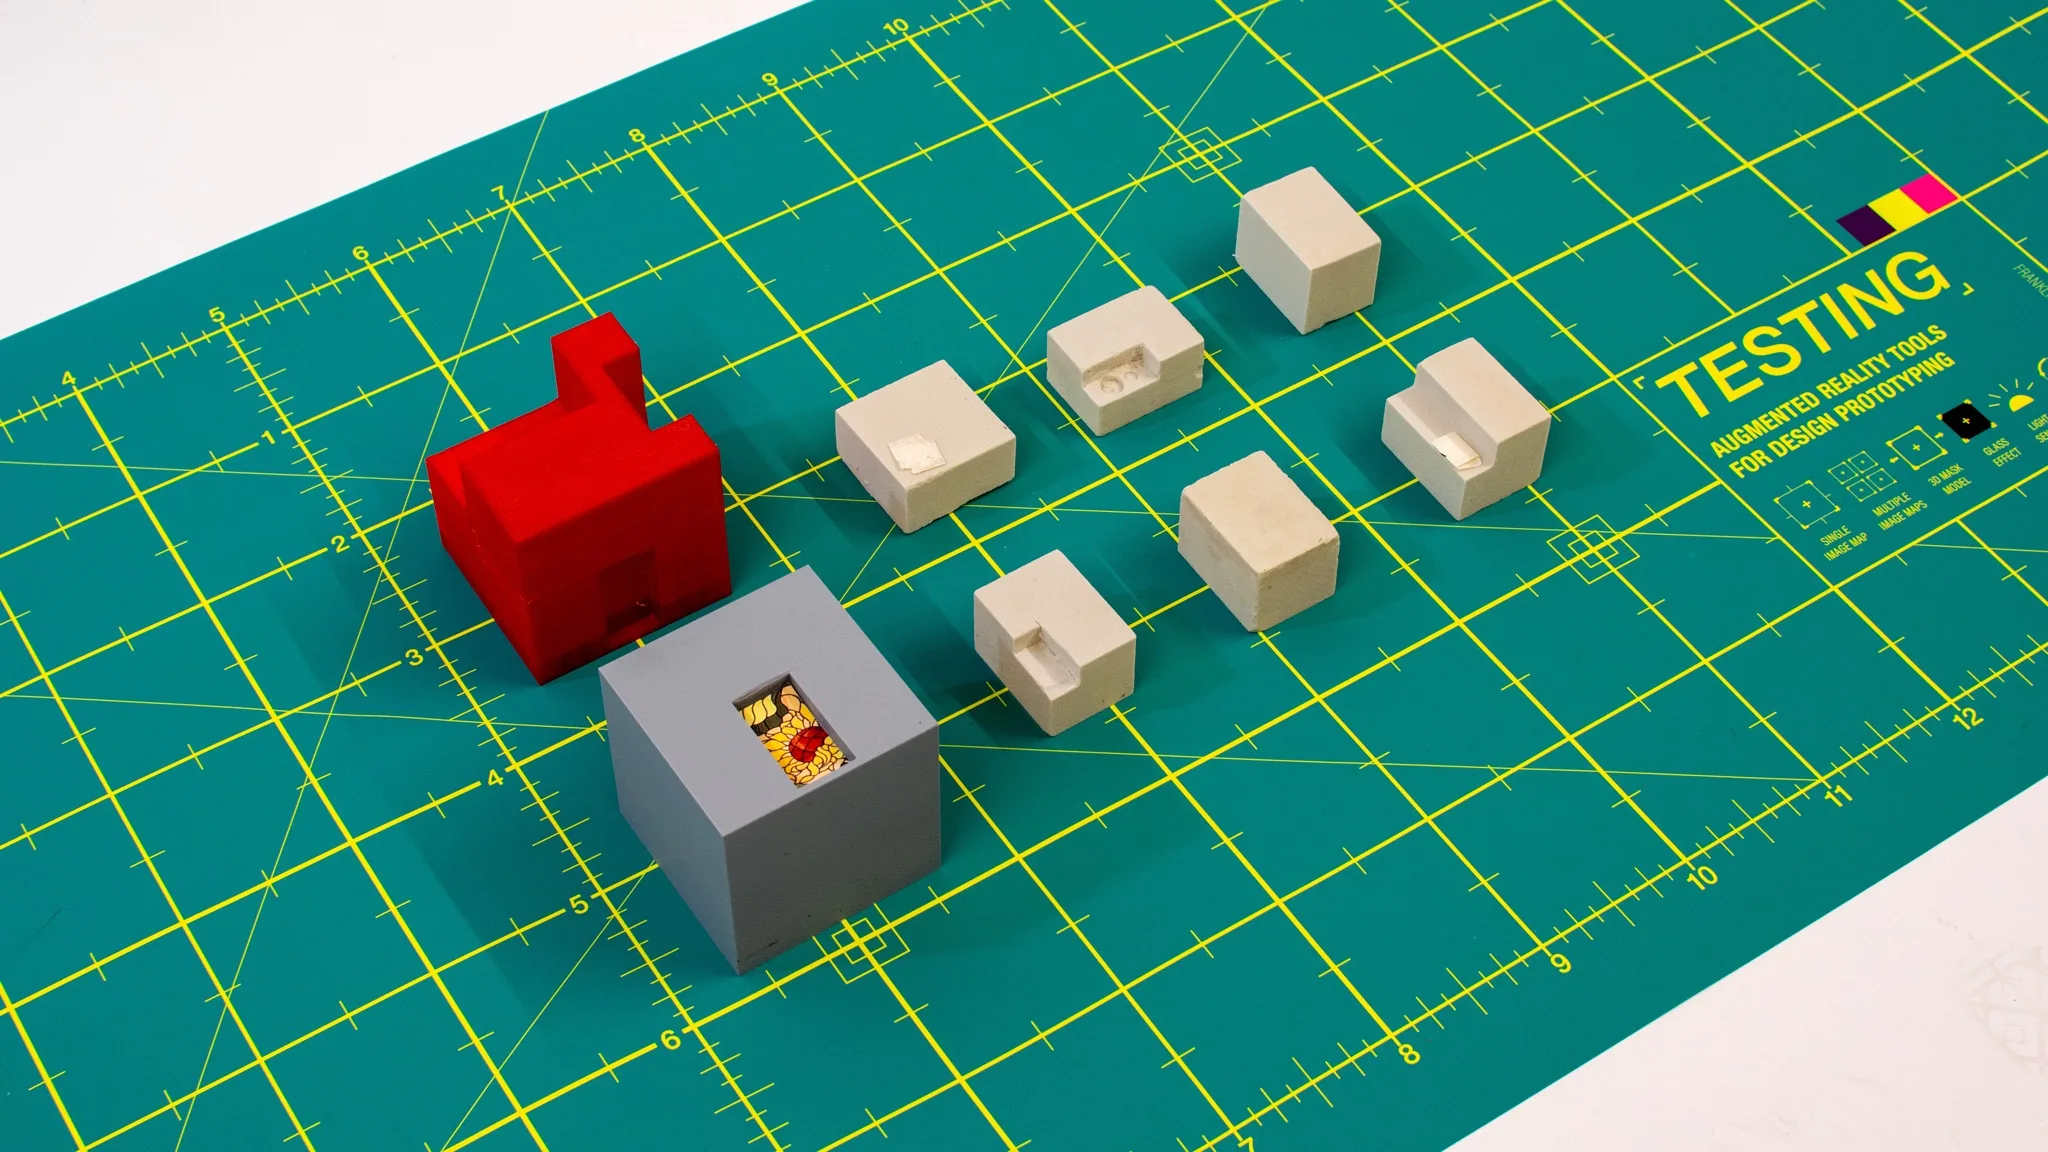
The masking prototype required close alignment between the physical object and its virtual model. I developed twelve cube variants in Cinema 4D, then fabricated them to compare how dimensions and geometry affected the result.
I developed the virtual models alongside the fabricated forms and compared them through the camera. Small mismatches disrupted the masking effect, so the fit between the two informed revisions to the physical dimensions.
Assembly
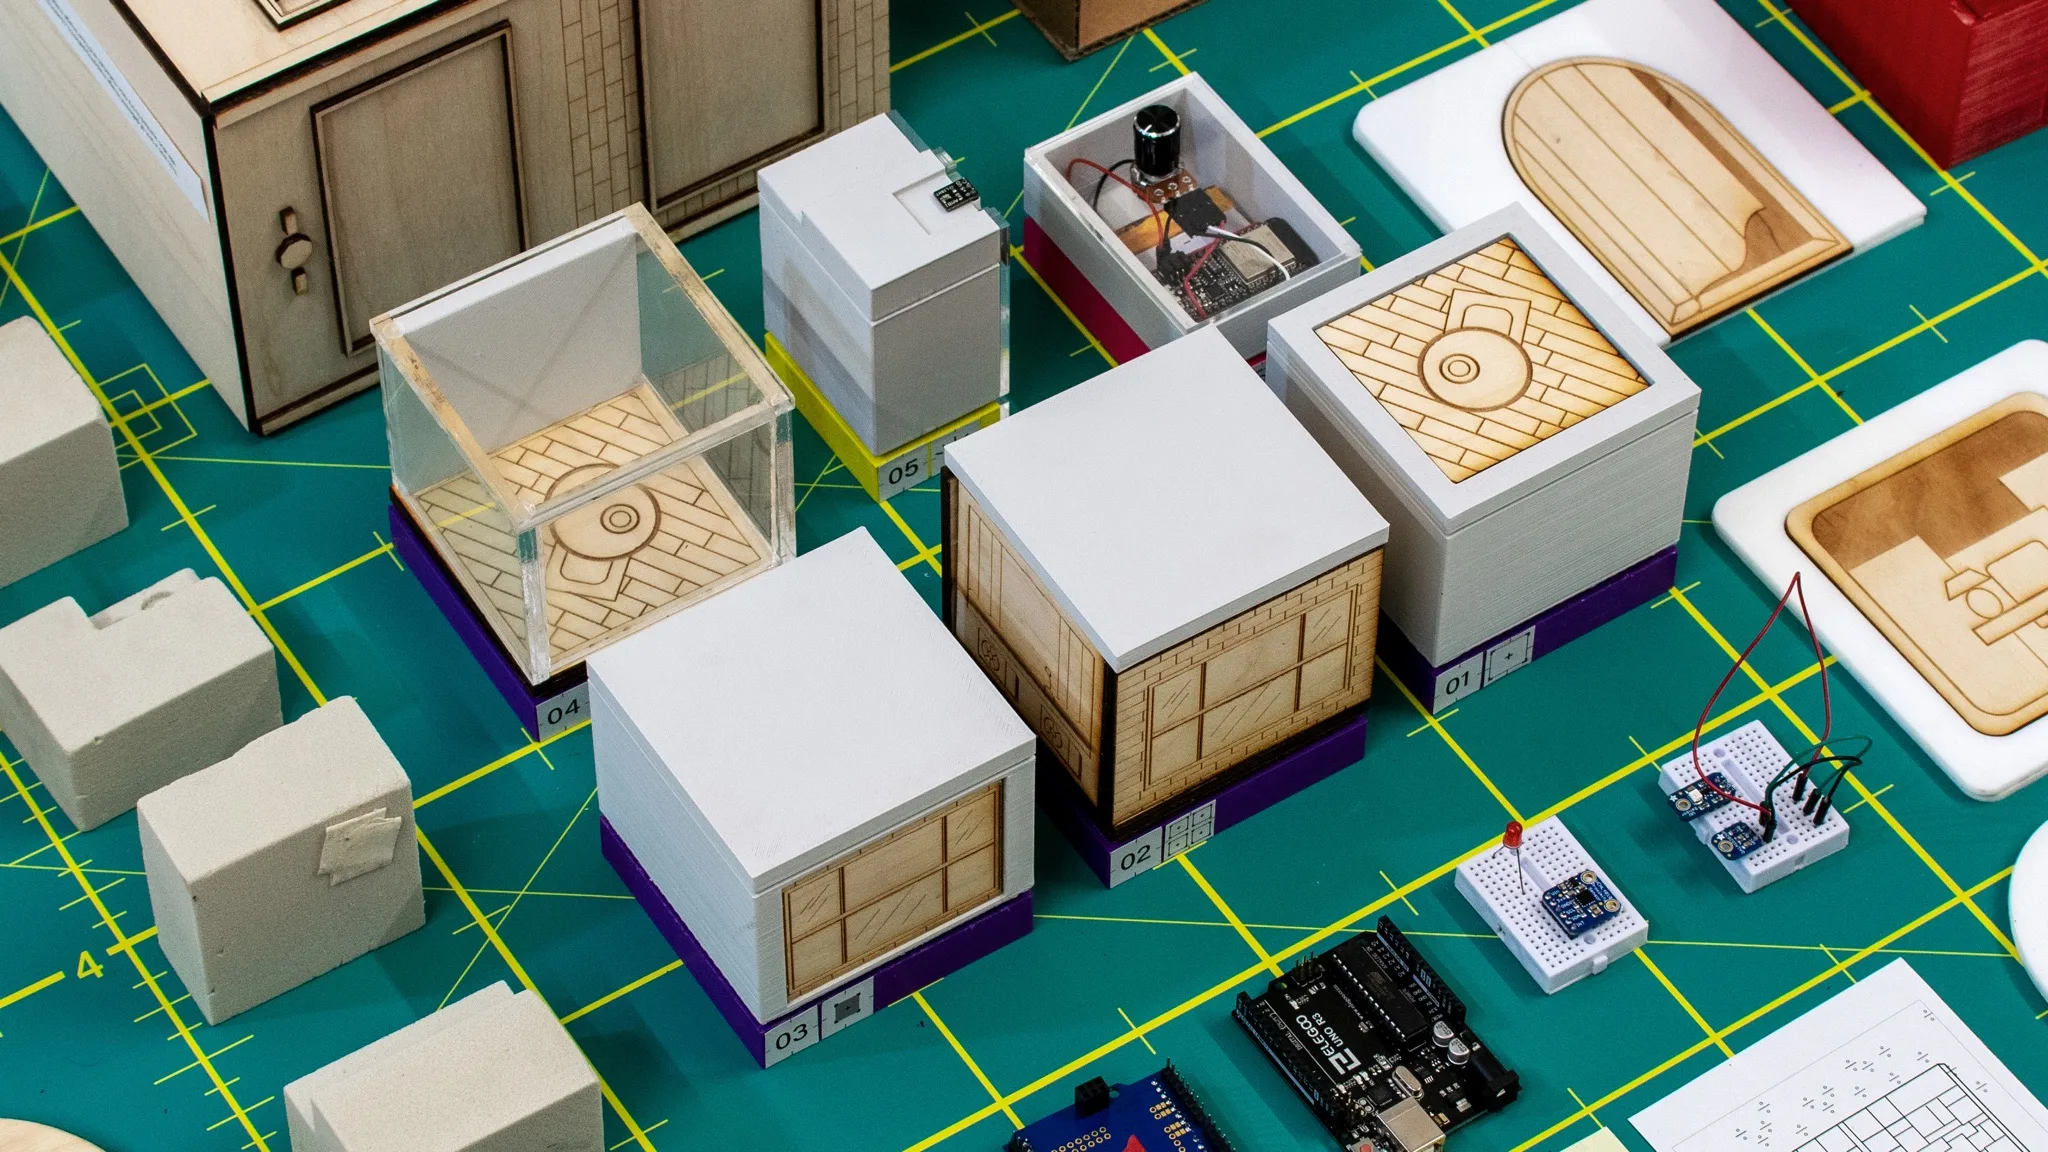
I brought the fabricated forms, printed targets, and electronics together as working tools. Assembly connected the material and form studies to the behaviors demonstrated above.
Testing the assembled tools let me compare the physical setup with its camera view and use that feedback in the next iteration.
System
Physical inputs
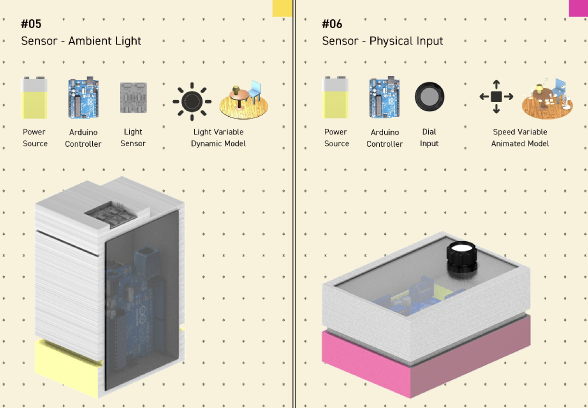
The sensor tools connect a physical input to a variable in a digital model. Each combines a power source, Arduino controller, and sensor or dial with a virtual response.
Ambient light controls a virtual lamp; a dial controls a virtual fan’s speed. These mappings let me explore how environmental conditions and deliberate gestures could become part of an AR interaction.
Findings
Test material choices through the camera before committing to fabrication. A finish that suits the physical object also needs enough contrast and detail for reliable tracking.
Develop physical and virtual geometry together. Masking depends on their alignment, so reviewing either model in isolation can miss problems that appear in the combined view.
Test in the intended setting. Changes in light and viewing conditions can affect behavior that appeared consistent at the workbench.
Out of the studio
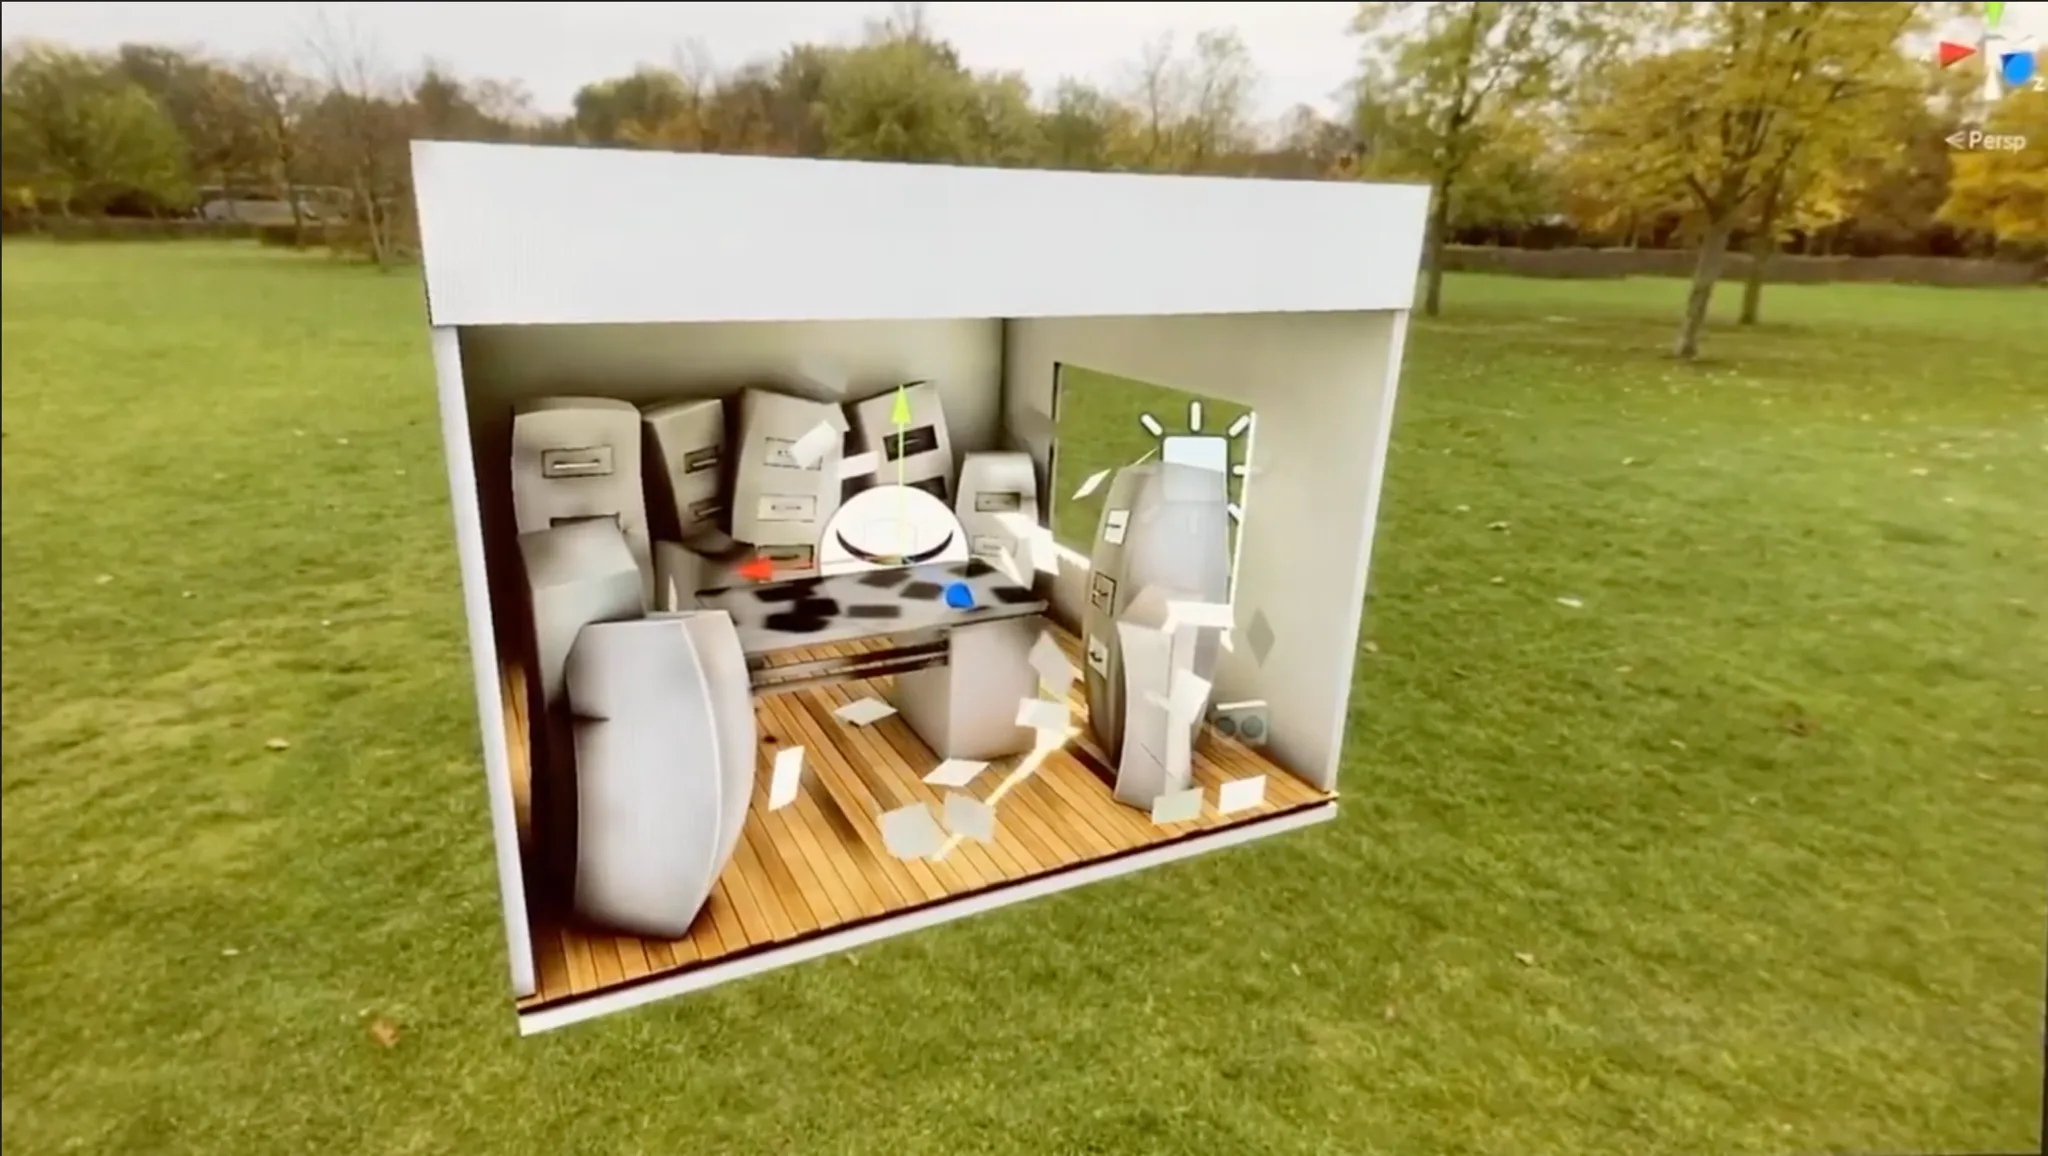
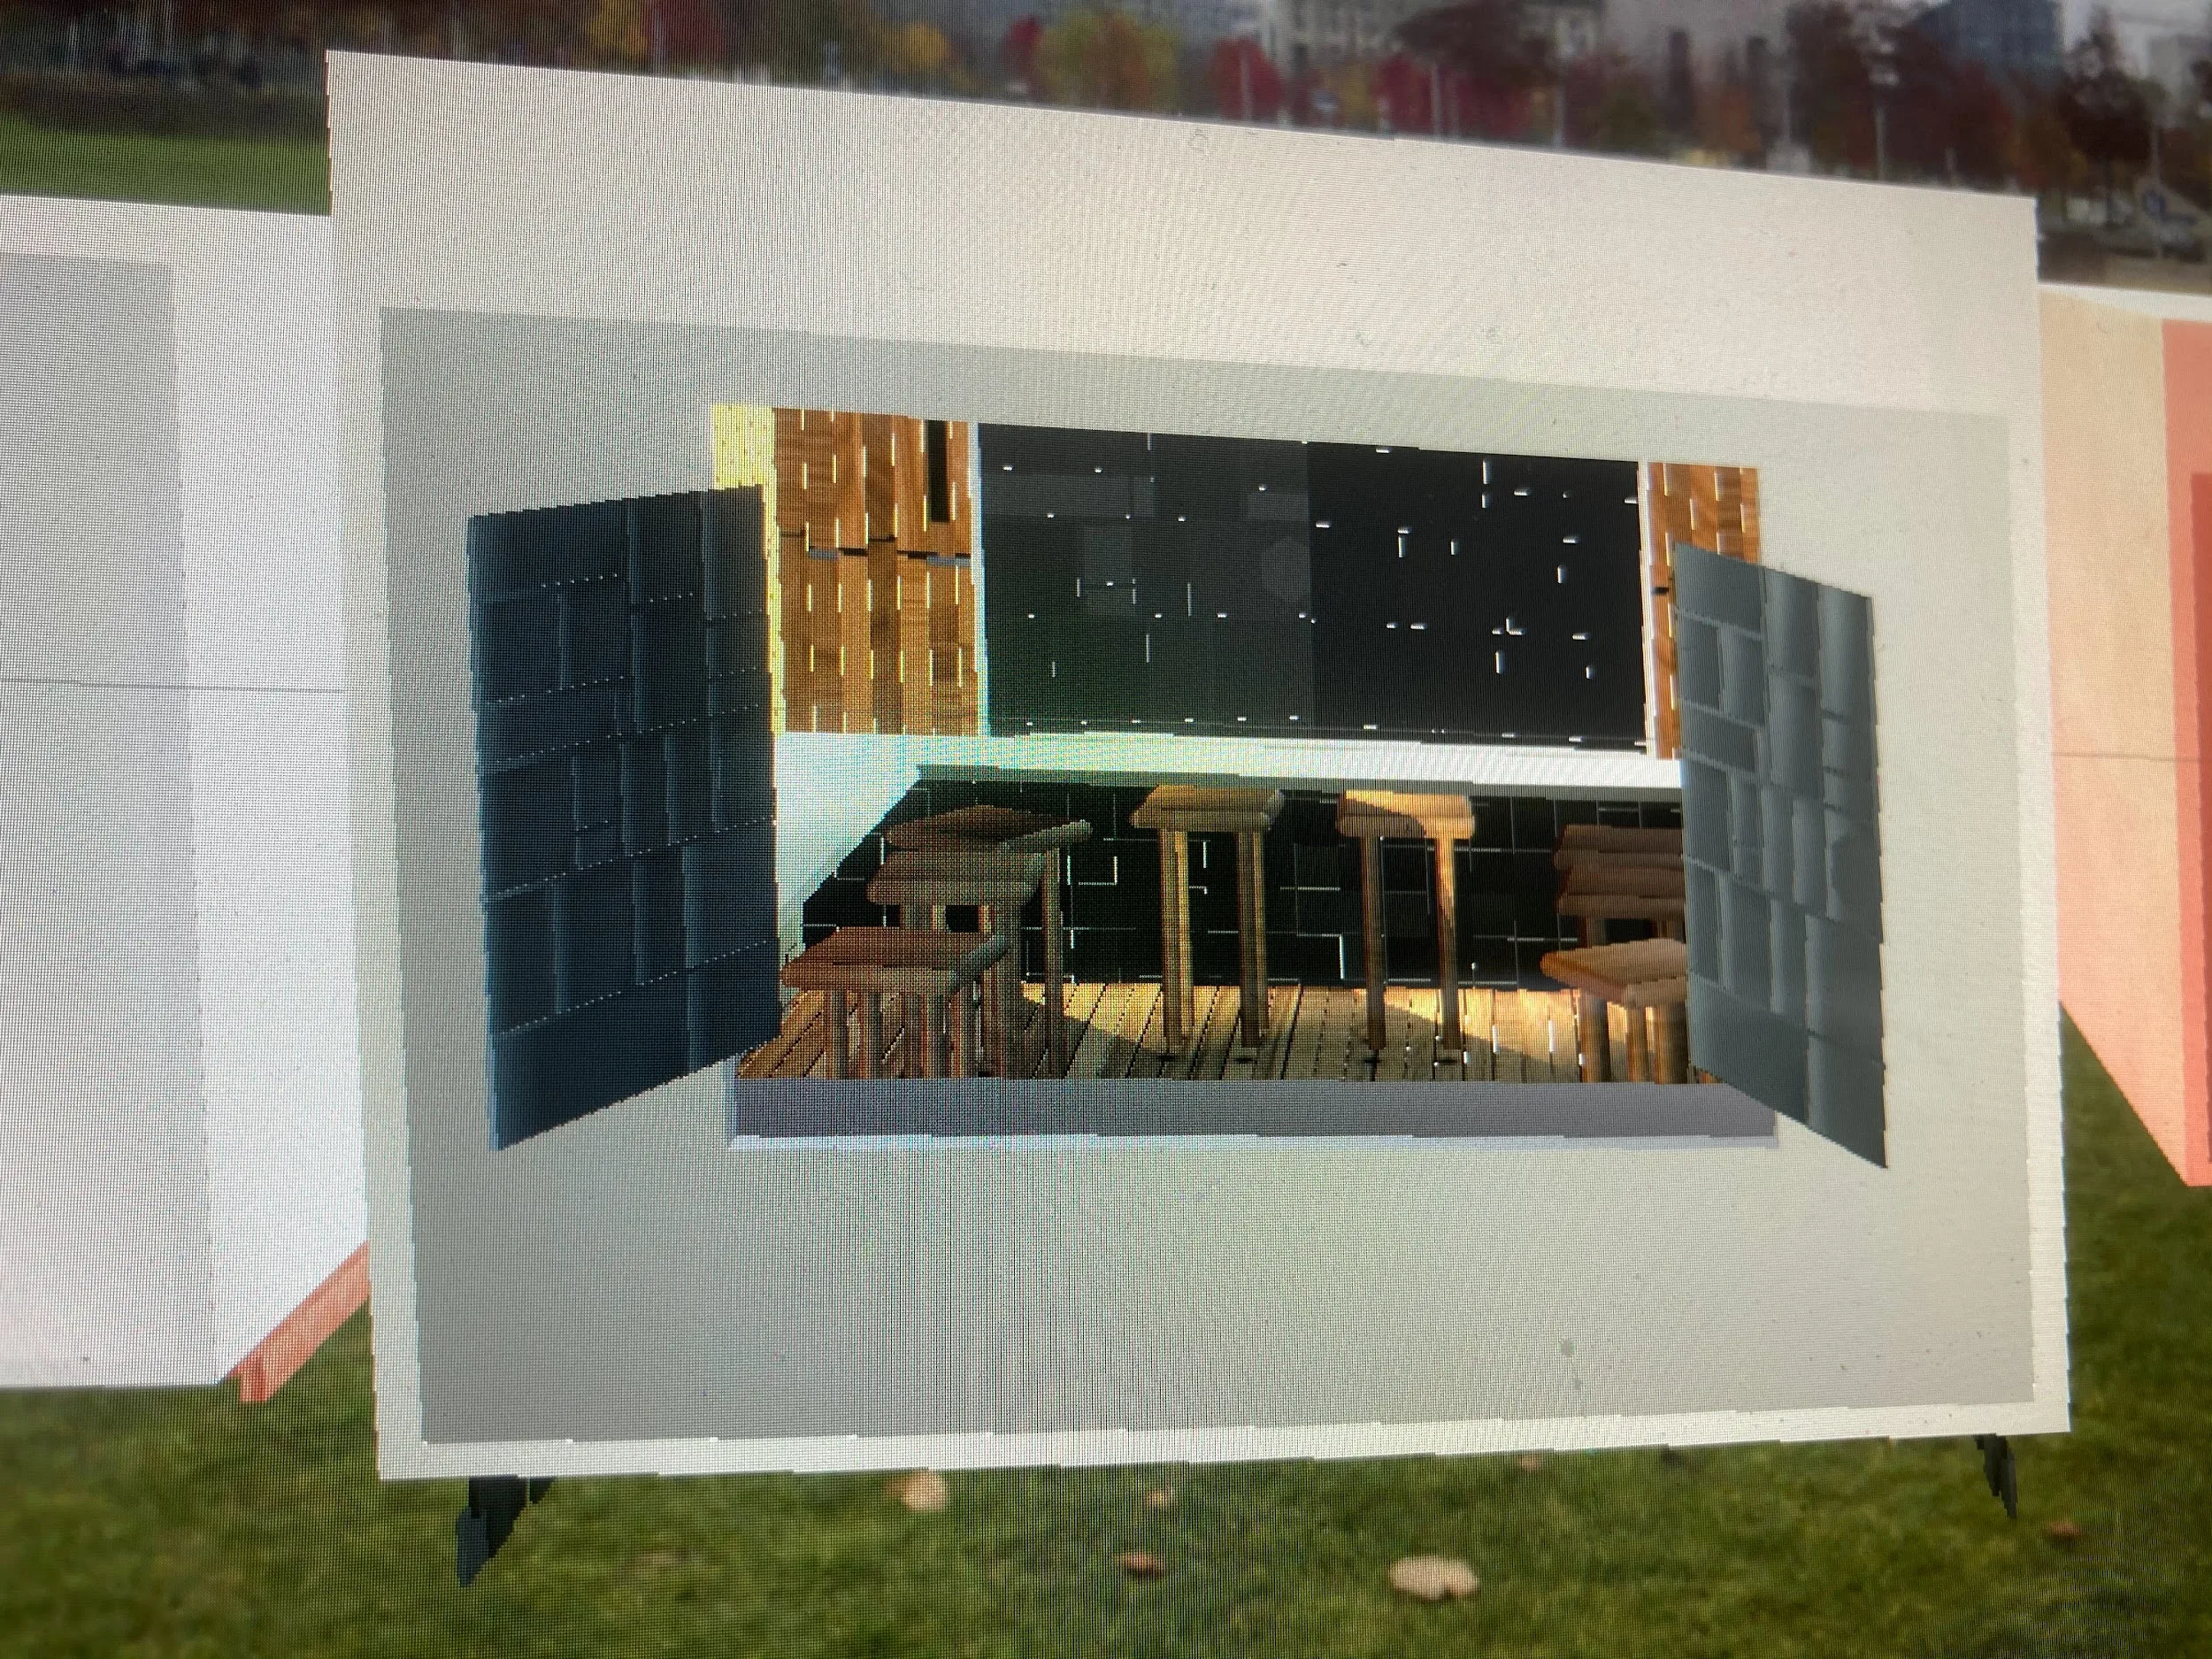
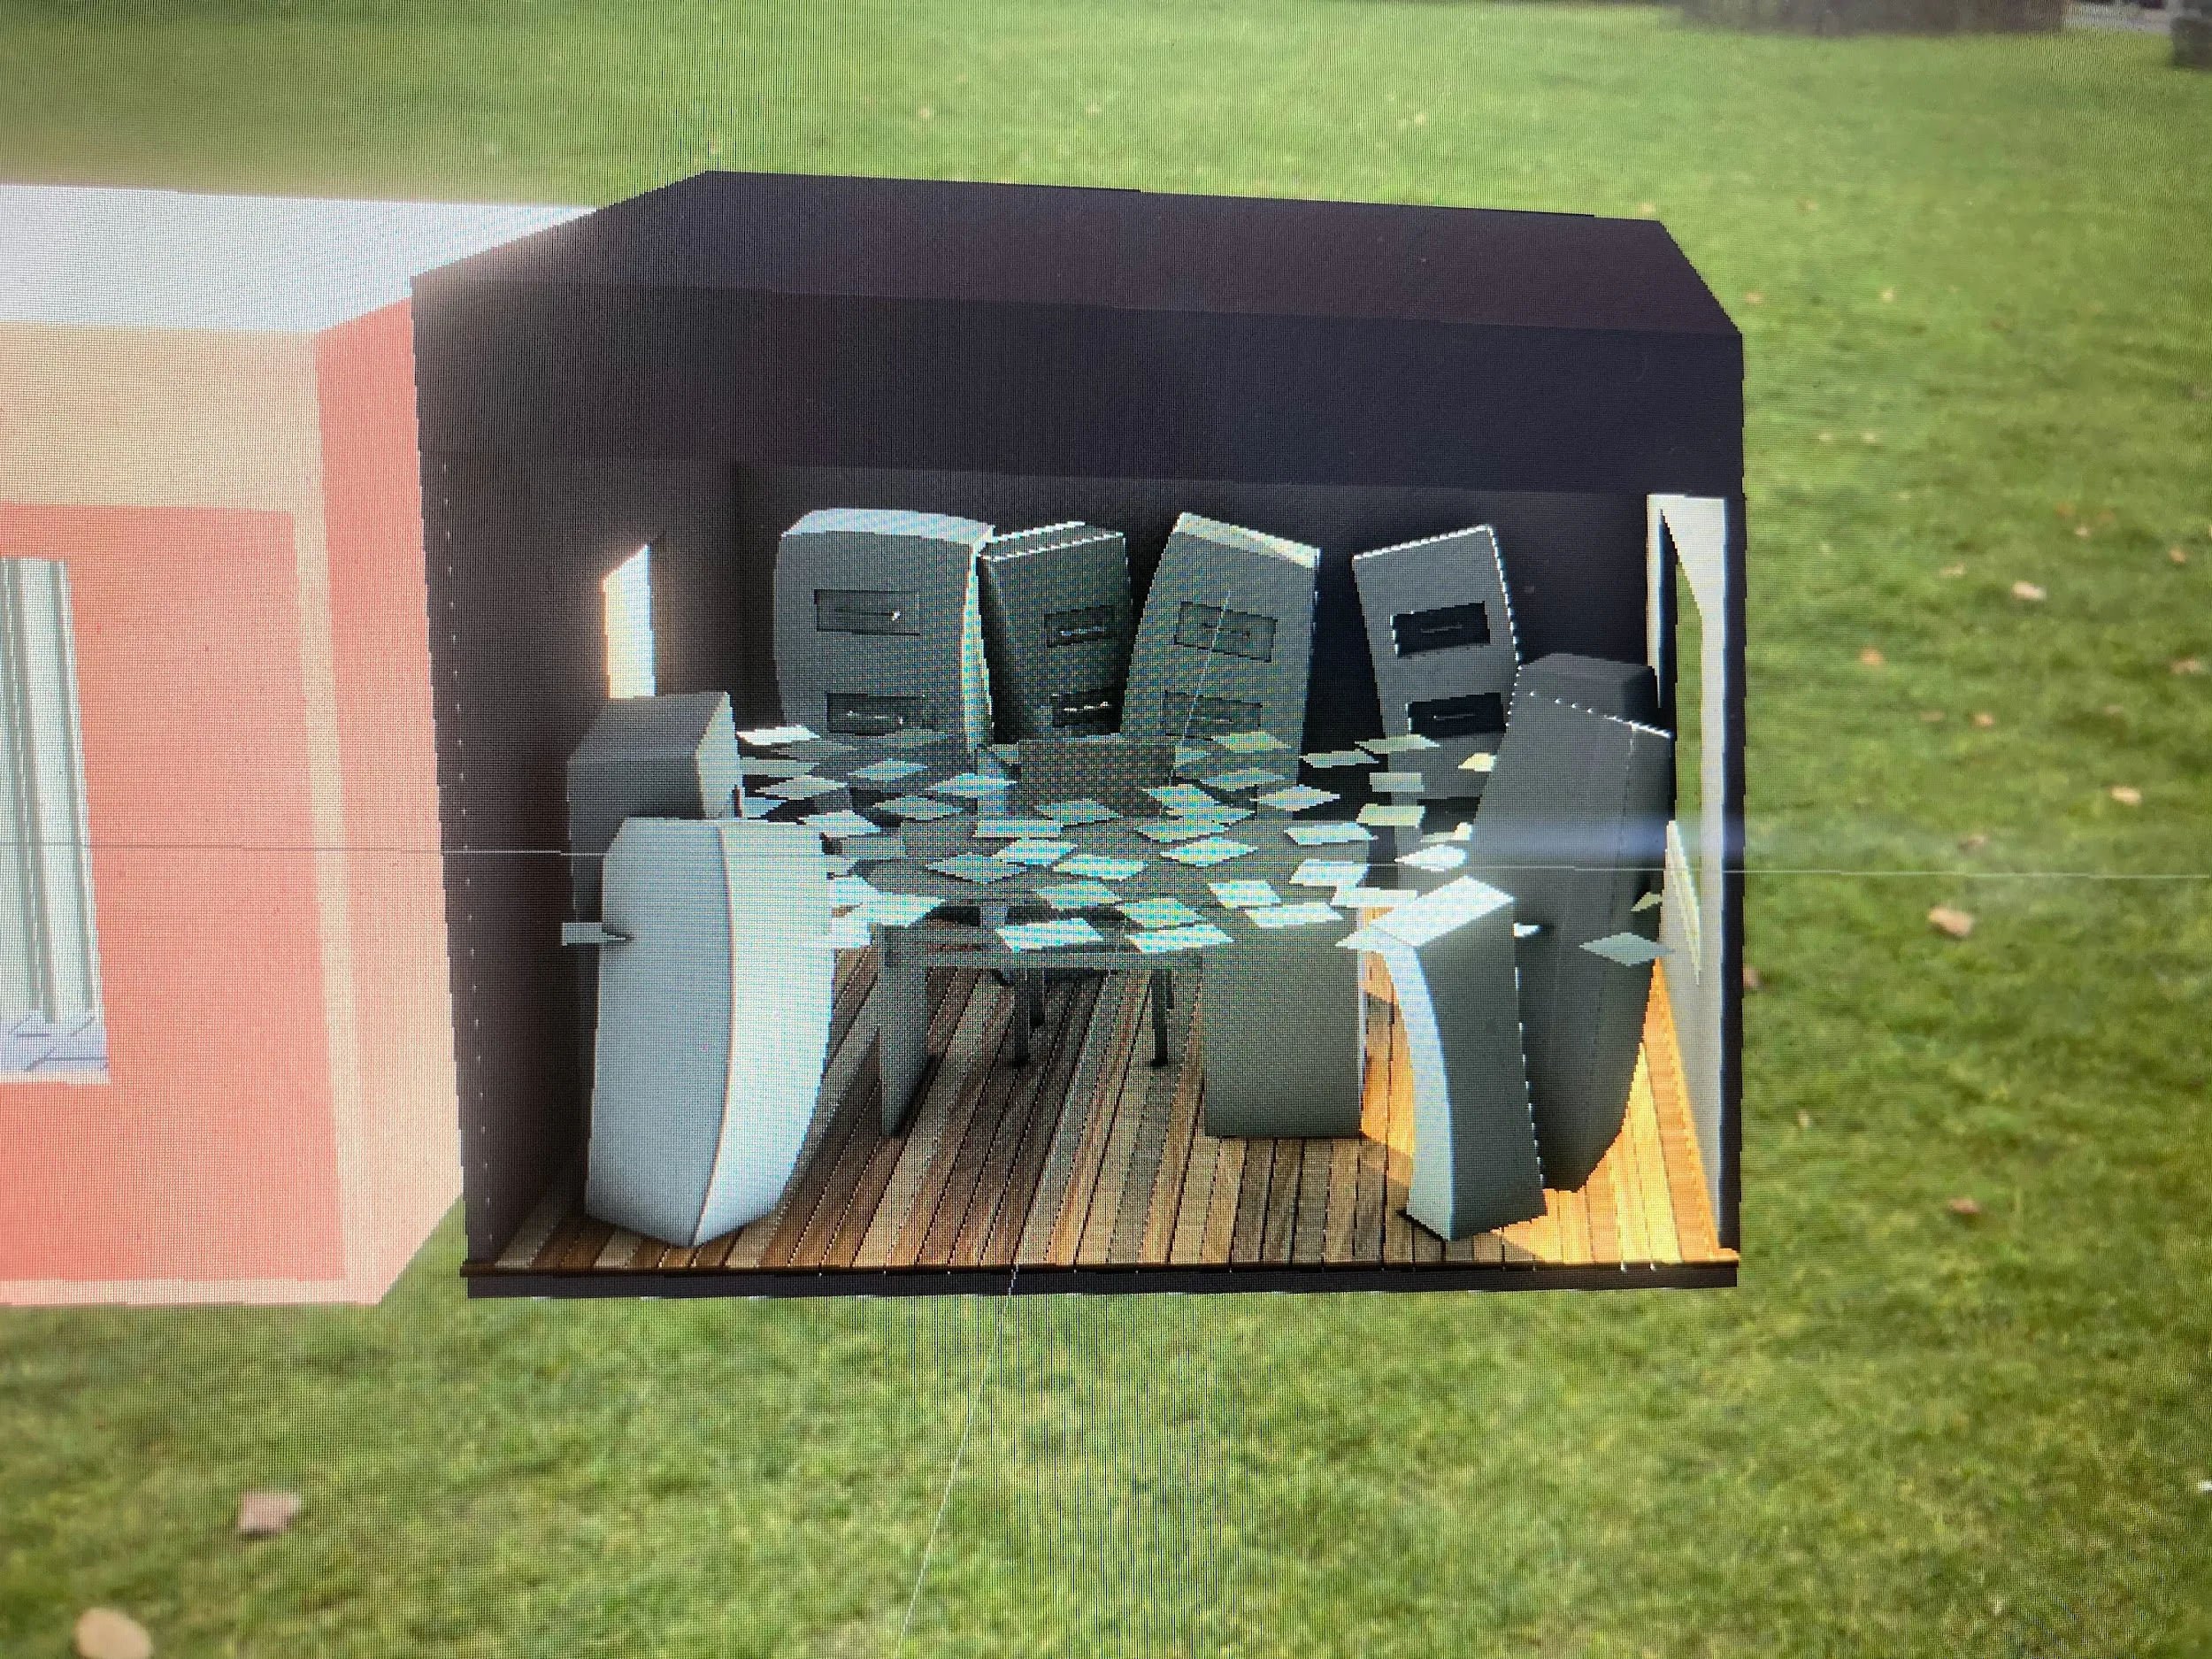
Outdoor tests extended the masking concept to an architectural scale. They explored whether a mechanic developed with small objects could support a room-sized virtual interior, and how changing light affected the result.
Outcome
A physical prototyping toolkit
I completed six working prototypes and documented their construction and behavior. The toolkit was presented at a live capstone exhibition, where visitors could try the mechanics firsthand.
The project produced a method for examining AR constraints during design. The findings describe the materials, forms, and setups tested; broader use by other designers would help establish how well the toolkit supports work beyond this project.
The project changed how I approach unfamiliar technology. I start by building small tests of the behaviors an experience relies on, then develop the concept around what those tests reveal.